
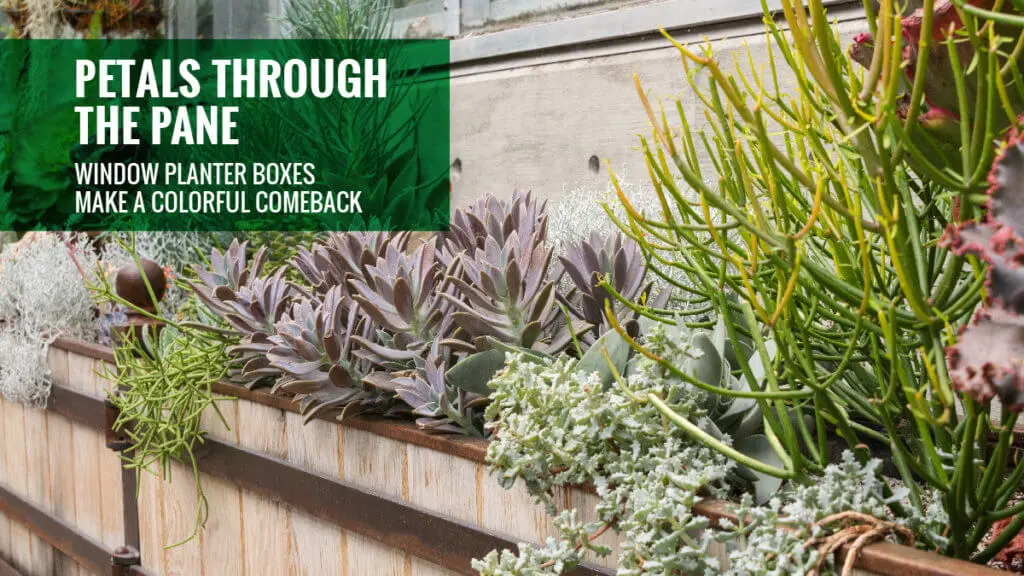
Window Planter Boxes Make a Colorful Comeback
Breathe it in … that long-awaited, fresh spring air. One inexpensive way to embrace spring is to dress your house with DIY window planter boxes. These boxes are making a comeback. They may be simple to make but they can add a delightful, colorful pop to your house, setting it apart from other properties and adding value if you’re thinking of selling.
The benefits of DIY window planter boxes extend beyond curb appeal. They also improve the view from inside your house. And if you consider yourself a master chef, a planter box of fresh herbs on the outside of your kitchen window is a handy and enjoyable thing to have. You can give your house a new look with changing seasons, sending a message that “this house is loved”.
If you think DIY window planter boxes might be just the boost that your house needs, there’s really only three things to consider before building. First, the box must be well-secured, because the fixture can be heavy once soil, plants and water are added. Next, the planter should be fitted in a place that can be reached for maintenance during the gardening season. And finally, where will the drainage go? It’s best practice to have the water run away from the sill or house wall.
Let’s take the plunge and give those windows a spruce! Here are the steps you can take to achieve floral perfection.
1. Design
There’s no shortage of DIY planter box styles to choose from, and price depends on the complexity of your design and quality of the materials. Research designs on Google and you’ll see there are plans for decorative boxes, or simpler, classic box shapes. You’ll be able to see which box styles suit your house and read about the material you need to buy.

2. Measure and Cut
In general, 11” deep and 8” high is a good dimension for a DIY planter box. Large lag bolts and wooden brackets can provide the necessary support for your box.

3. Assemble
Careful construction and now will make your boxes hold together and keep your house looking sharp. Assembly should take place on a flat surface, and clamps and quality glue plus nails or screws are essential. Details such as decorative trim add a professional touch for minimal outlay. Finally — remember that drainage factor. Drilled holes in the base are essential.

4. Paint
No-one loves sanding, but it’s worth it for DIY planter boxes, to allow a top-quality paint finish. Primer will make sure the paint adheres properly and lasts longer. When it comes to color, you could choose a cue from your house, but you really can’t go wrong with white. It looks fresh, suits all types of houses, and the color contrast allows floral blooms to charm onlookers.

5. Hang and Plant
If your planter boxes are on the generous side, large lag bolts and wooden brackets can provide the necessary support for your box. If they’re a more traditional, smaller size, screws and nails and a block of wood will provide ample hanging strength. The most fun part of all is the planting. A layer of gravel underneath soil will help drainage and help your flowers thrive.

Once you build and install your DIY window planter boxes, there’s really not much upkeep involved, other than planting, fertilizing and watering. One of the only things left to do after that is to fix some refreshing iced tea and kick back to enjoy the spring flowers.