
When You Replace Windows…
Rule number one, hire a professional. Replacing windows really doesn’t fall into the “DIY” category. The windows themselves are a big investment and an improper installation will make any window, no matter how much you spent on it, into a bad window. The single most important component of a house window replacement project is the installation. A good resource for your window company search is JeffsList.com, it’s a list that we’ve compiled of professionals that share the same principles and values that we do. That being said, one of the questions that we here all of the time is, “How do you replace windows in a house?”.
A quick note before we begin, this method may not be applicable when replacing wood windows. There are a few different techniques when it comes to wood windows and we have a video detailing that which can be found here.
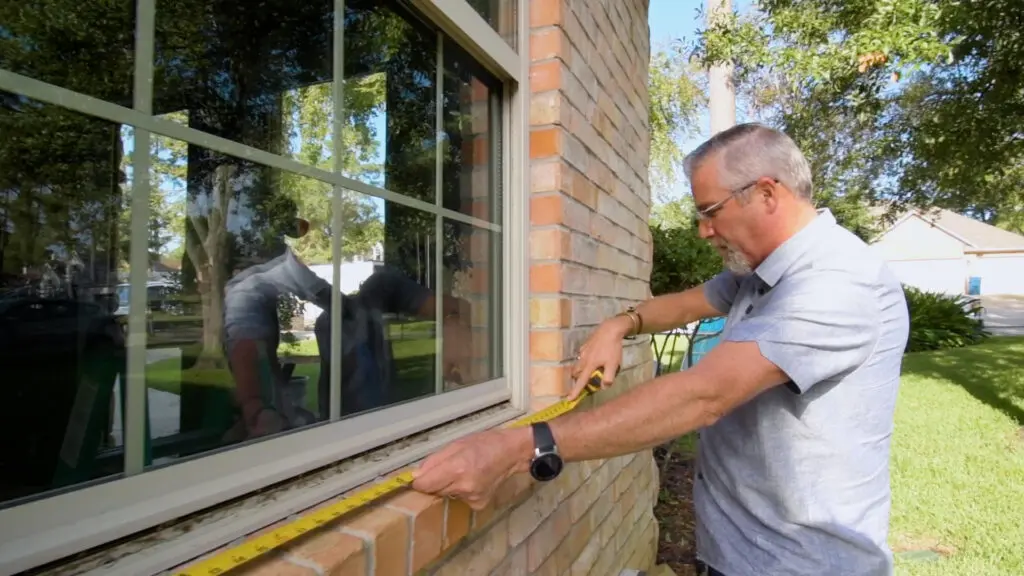
Measure, Measure, Measure
When the windows are initially installed during construction they would have been “standard sizes”, which is the opening size less 1/2 an inch. For example, if the opening is 36″ x 60″ the window would be 35 1/2″ x 59 1/2″ but after the window gets set and the brick, siding, or stucco is finished that standard size won’t work for a replacement.
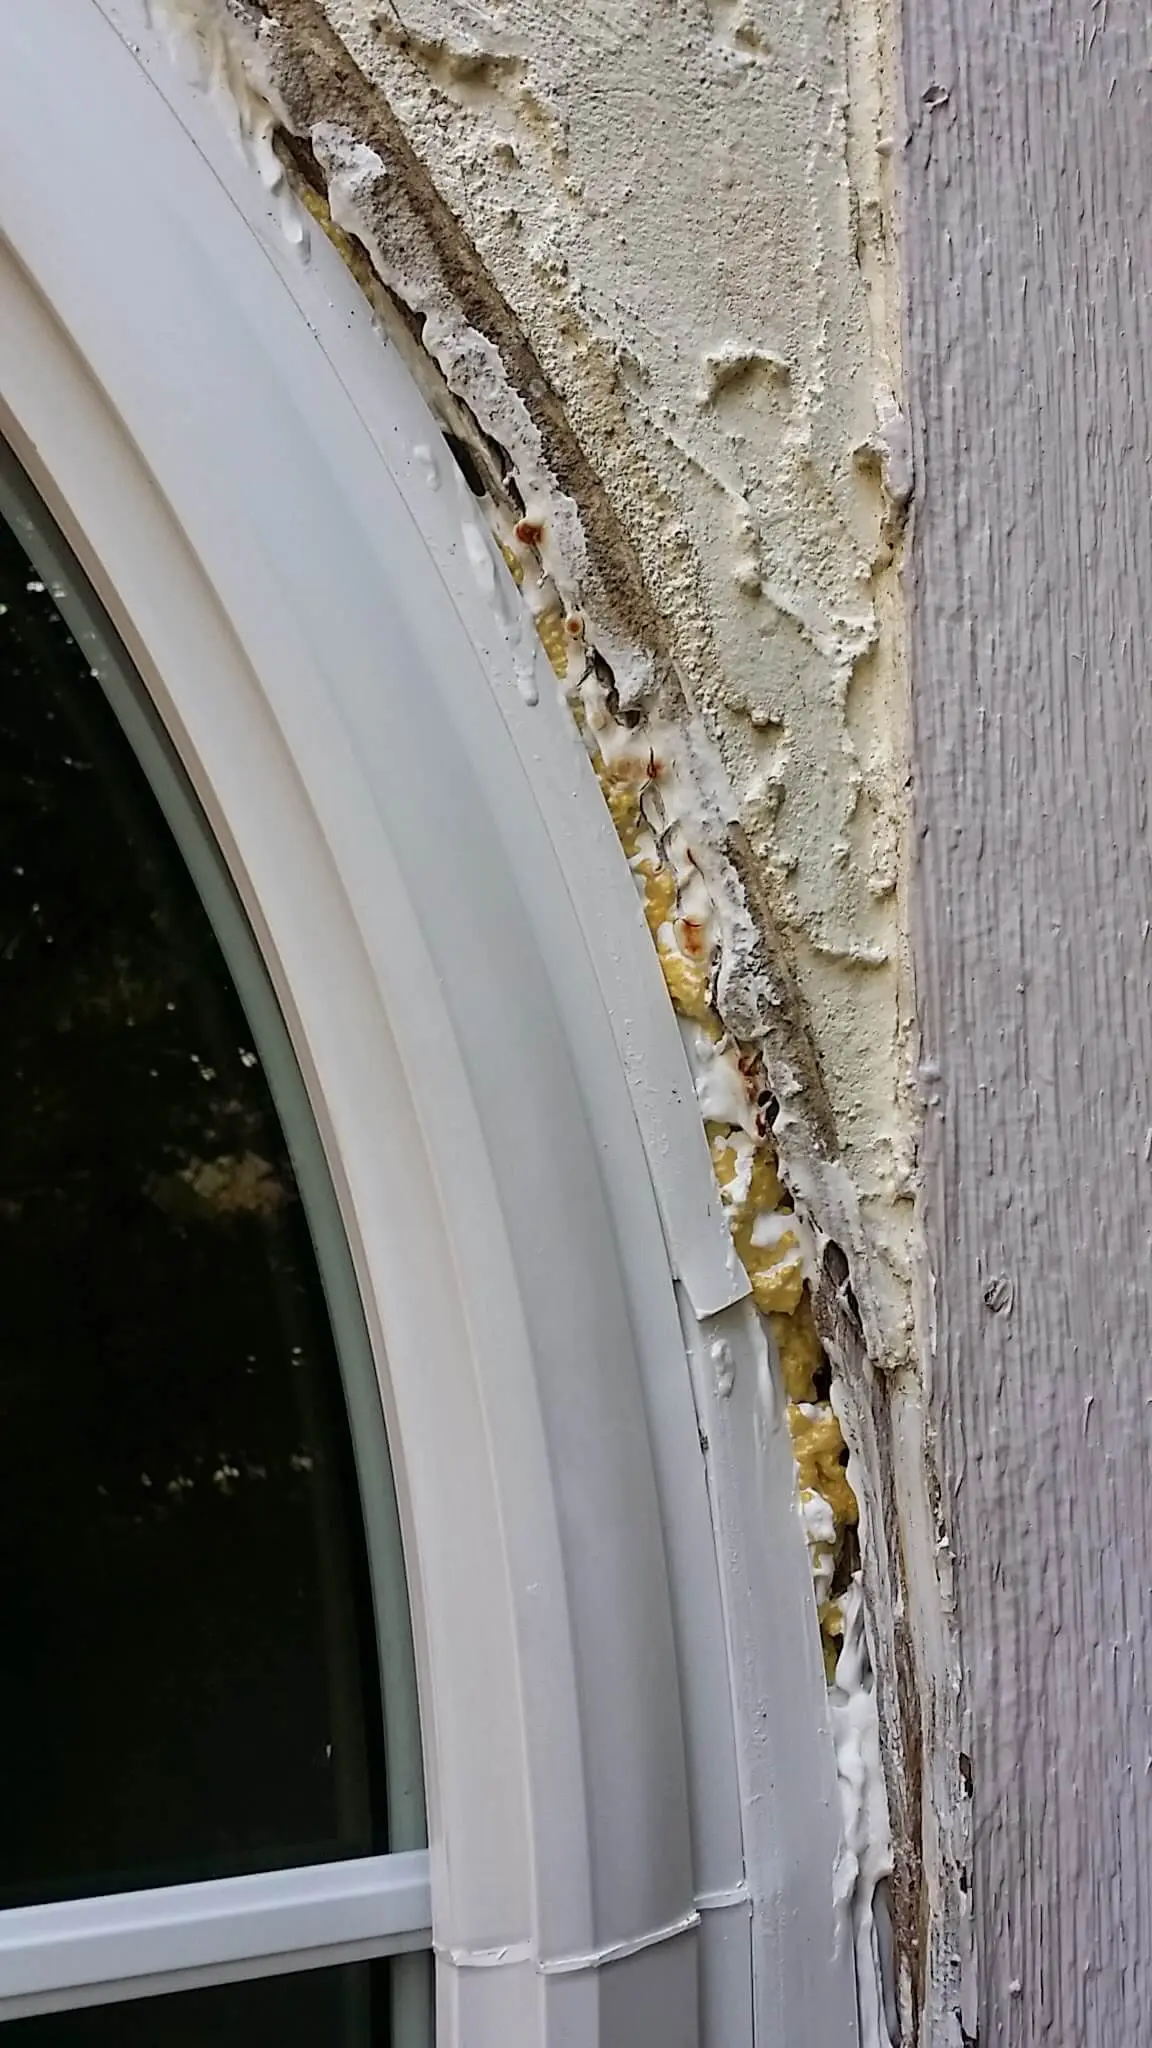
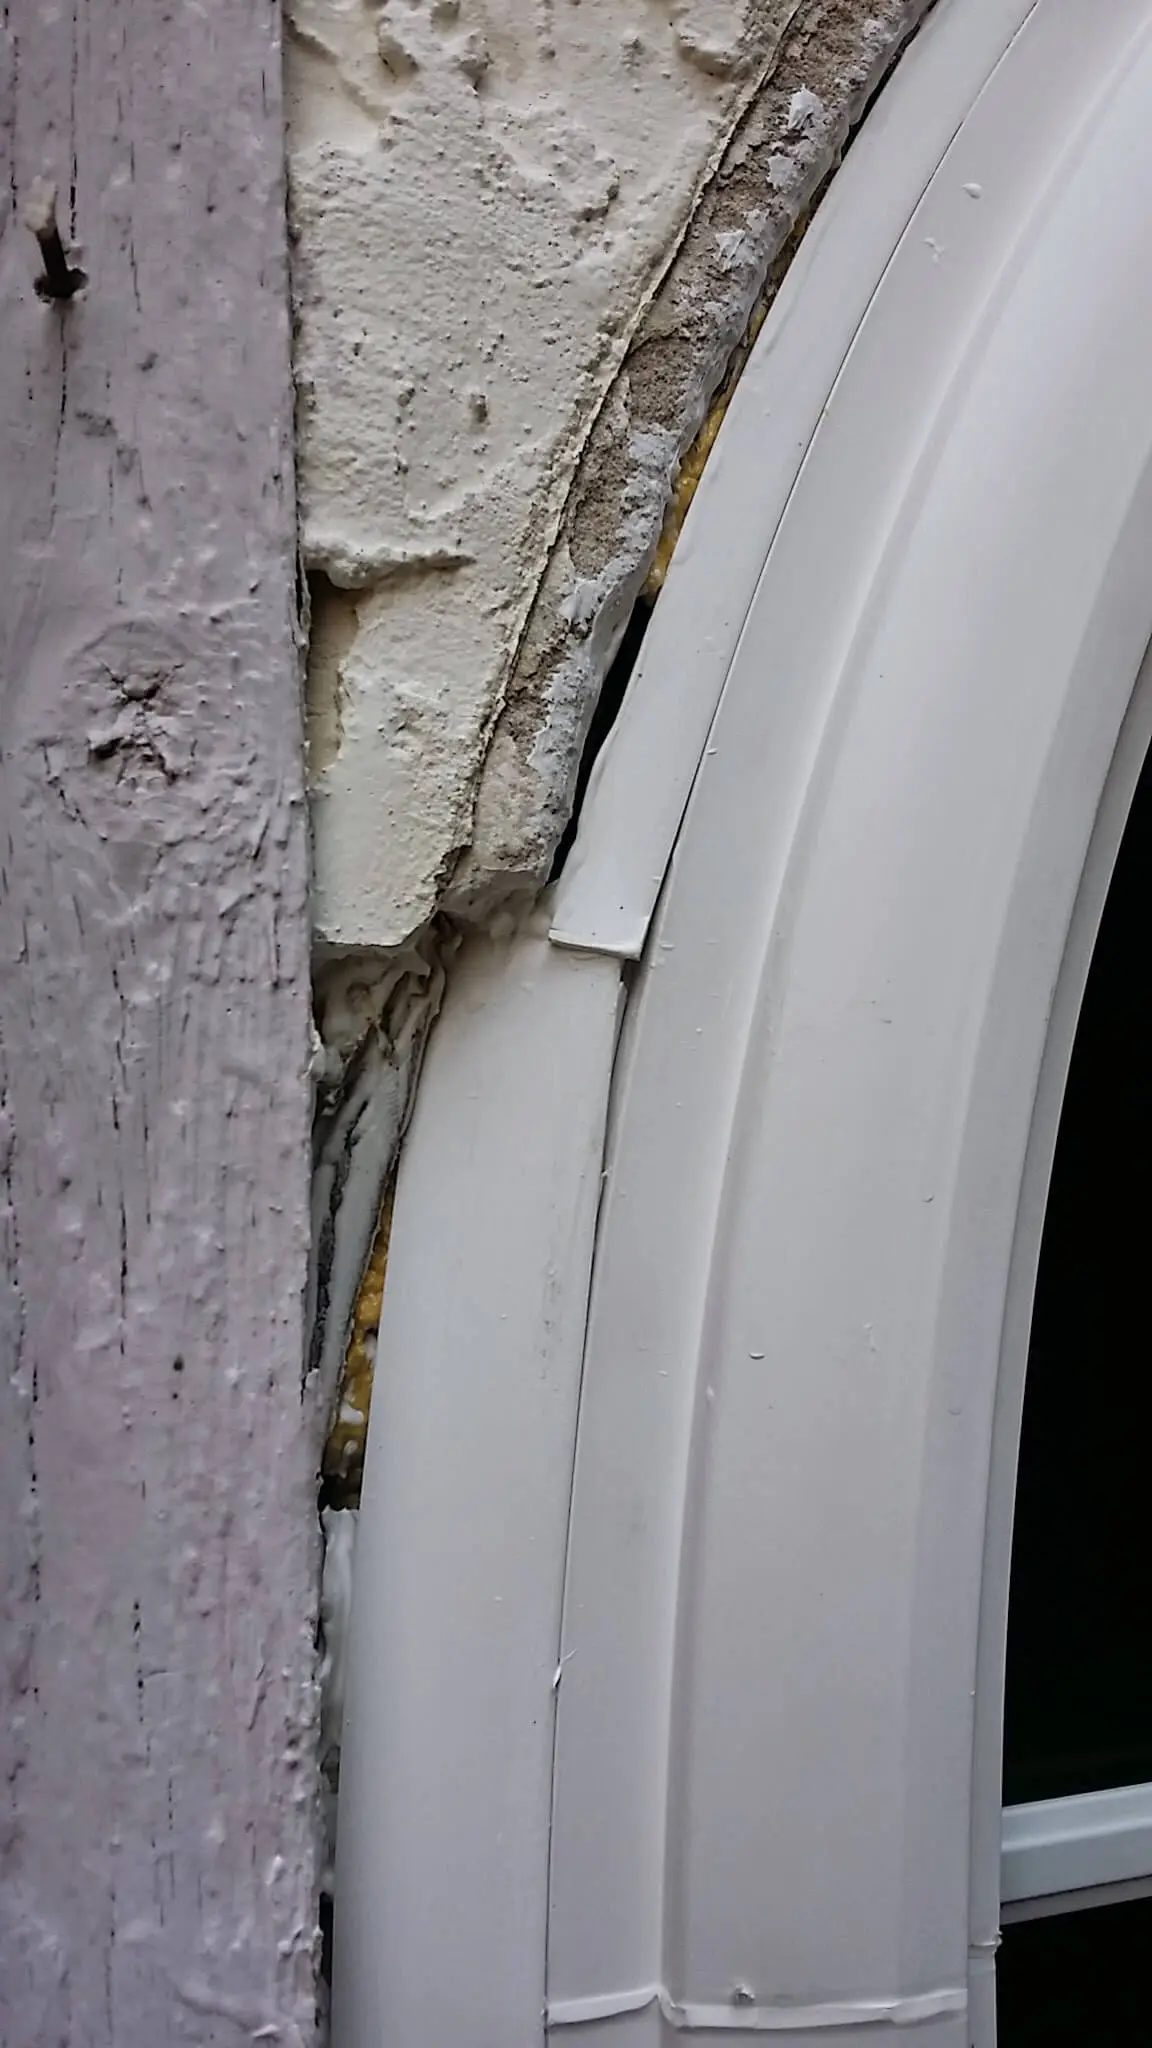
Window sizes will always be listed as Width x Height, and that’s an important detail so you’ll start with measuring the width in at least three places; top, mid-way, and bottom. If it’s a larger window, you’ll want to add some extra points of measurement just to be safe. At this point, you’ll take the smallest measurement and subtract whatever margin you’d like to work with. This varies from company to company, we like to subtract as little as we can so we have a fit that is nice and snug but still allows for the installation. Yes, it’s more difficult and it takes more time but you get a better installation. Some companies will seize upon this opportunity as a good place to cut corners and will order the windows an inch (or even two!) too small. It makes for a quicker, easier installation but you end up with a big gap that needs to be filled with caulk or trim pieces (images below).
Now repeat this process for the height and you have your window size. You’ve heard the saying “Measure twice, cut once” and this applies here. Once you order these windows it will take weeks to get them produced and delivered. If you mess up a measurement you’ll have to buy another window and start the wait all over again. Be thorough!
Removing The Window
Sashes First
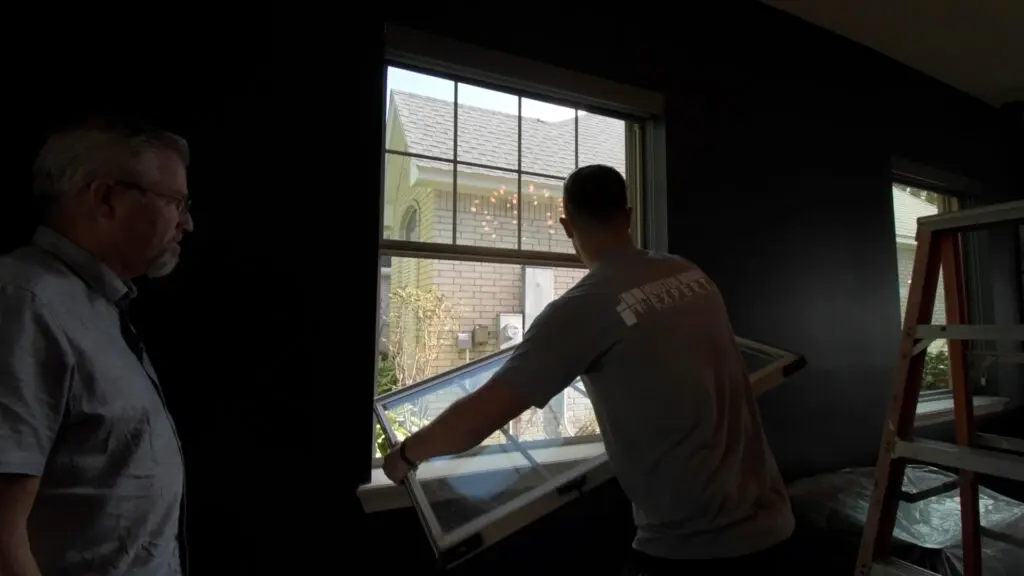
The first thing that is removed from an operable window is the sash (the part that moves). For more information about the anatomy of a window check out our video here. No matter if it’s a single-hung, double-hung, or slider the sash is made to come out on its own. After that, if there’s a fixed pane that still needs to be removed we’ll use a heat gun to loosen up the adhesive so we can remove the unit, intact. We do it this way because it’s safer. Safer for our crews and safer for our clients. Some companies will do the “Smash and Dash” because it’s quick but I guarantee they will never get all of the broken glass picked up 100%; to say nothing of the safety issues.

Now The Frame
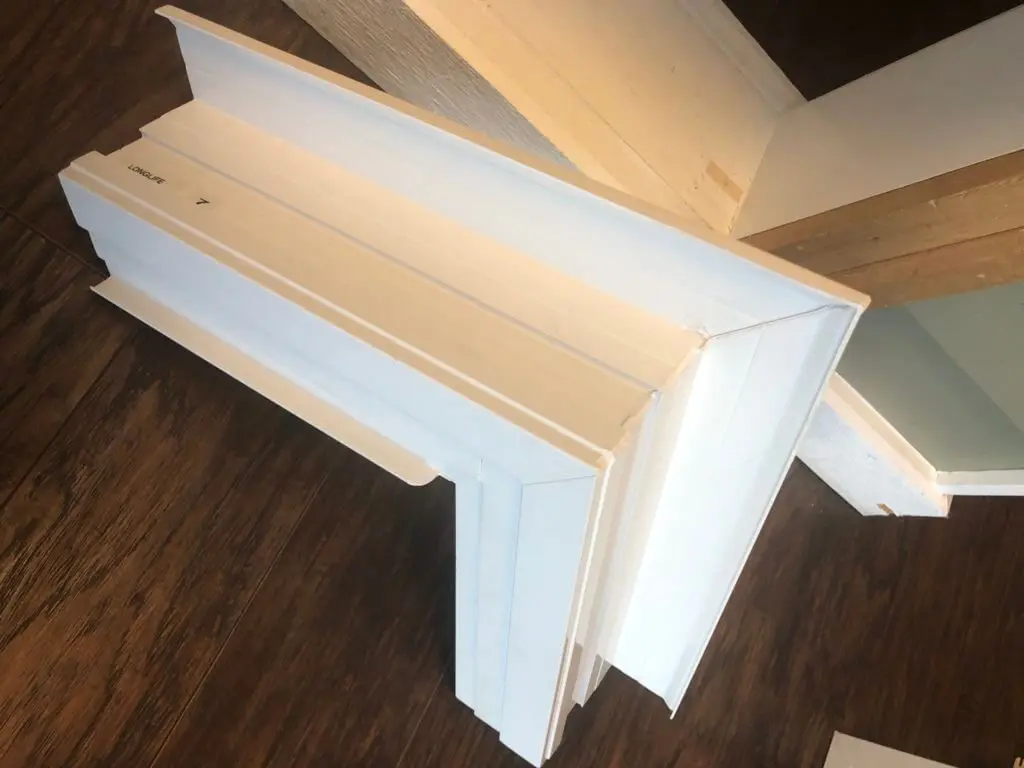
Now, it’s out with the frame. If there is a meeting rail in place it’s cut at one end and worked loose of the fasteners. Then the jambs, sill, and head are pried out of place. Keep in mind that as an original installation the windows will have a nail flange and will be nailed to the sheathing of the house. Once the house is finished the nail flanges are inaccessible so in prying on the frame the flanges are getting ripped off of the nails. This can take some force but it has to be done with care so no damage is done to the brick, siding, or sheetrock. We use pads to distribute the force and prevent damage. Stucco can be especially difficult and often has to be cut around the window for removal. The best way to go on stucco replacement windows is with what is called a stucco key (image below). A stucco key is a lip that extends out from the front edge of the frame to cover any damage to the stucco.
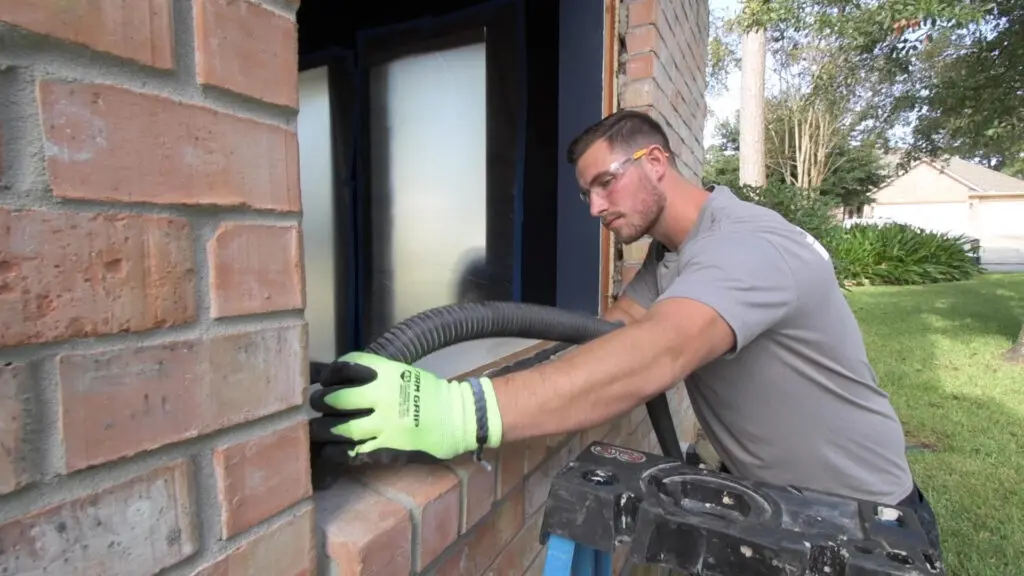
Prepare And Clean The Opening
Since a good window installation is going to include high-quality sealants the opening need to be free from dust and debris so good adhesion can be achieved. We’ll also trim away any of the old caulking and make sure that the edges of the sheetrock are cleaned up, as well.
If the new window has a deeper frame than the old window, which is usually the case, you’ll want to take some measurements to see if you have enough depth available for the window. If the opening is in brick there is typically enough room to have the window extend out further than the original. This is ideal because you will still end up with the same reveal inside. If the window is going to jut out beyond the siding, a cut-back is required. With a cut back you regain the depth you need for the window frame but it’s done inside of the house with the sheetrock, casing, or stool getting trimmed back. It’s a messy process and should only be done when necessary.
The final step before setting the window is flashing the opening and instead of spelling that out, we have a video breakdown of our flashing process that you can find here.
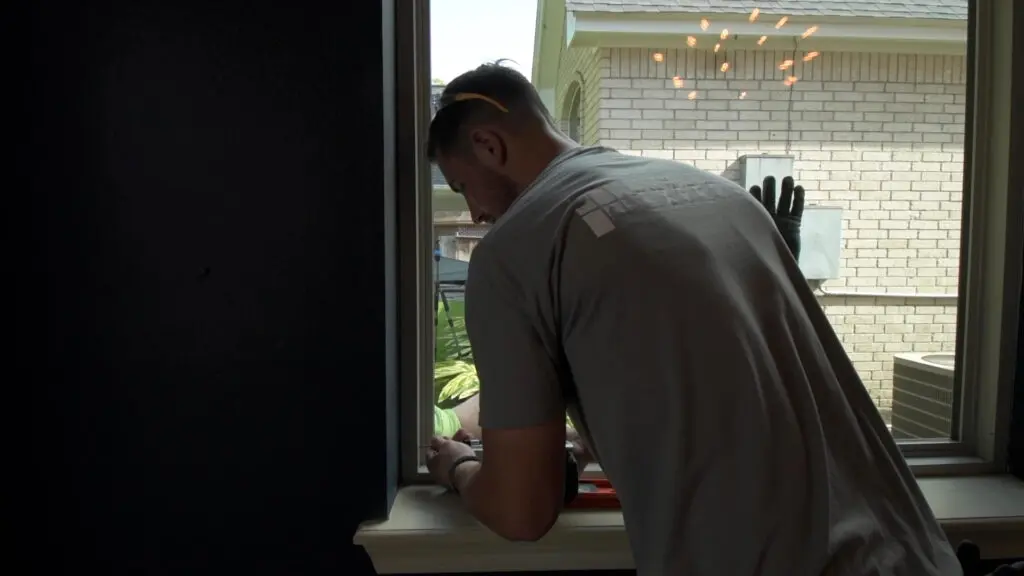
Setting The Window
Shim Away
Now that the window opening is cleaned and prepped for the window you’ll start with a couple of shims on the sill of the framing. In all likelihood, it won’t be level and it’s imperative that the window is perfectly level. Otherwise, the weeping system of the window will not drain properly and you can end up with water trapped inside of the window frame which will lead to problems down the road. Once the window is set in place additional shims will be wedged in to hold it in place while it’s being adjusted for even reveals and leveled. This is at least a two-person job with one outside placing the shims as directed by the individual inside reading the level and checking the reveals. The window is still unsecured so if you’re not careful here the window can fall out of the opening and injure the person outside. Once it’s set in place it’s time to secure it to the framing.
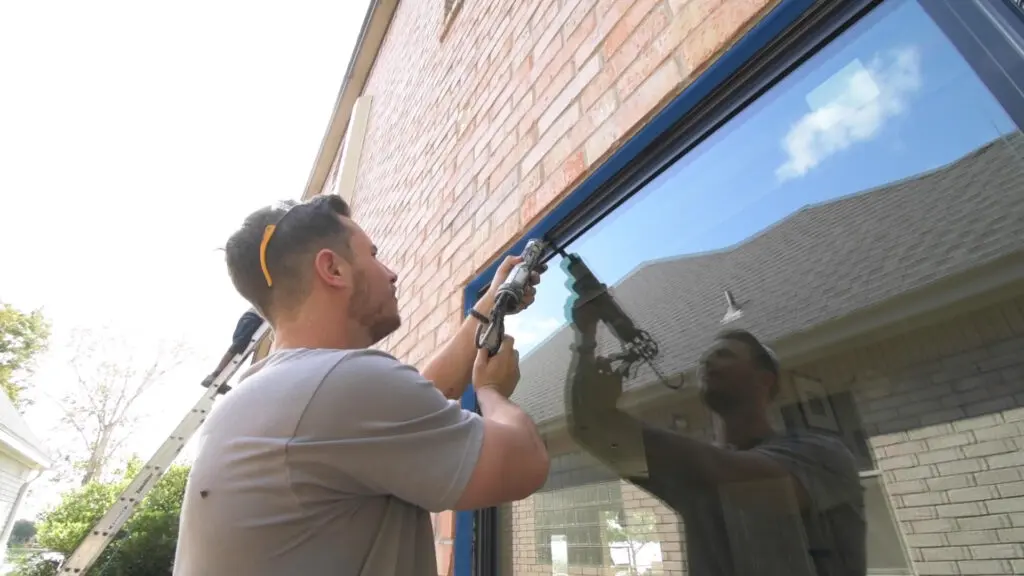
Screw It
The most important thing here is getting a good “bite” into the actual framing of the house; we use a 3 1/8″ screw to do the job. Sometimes, especially with brick, you may not have a direct, 90-degree line into the framing and there are a couple of ways to remedy this. If you have the room to work, you can add some blocks between the frame and the brick or you could go with a cut-back.
It’s imperative that you don’t over-tighten the screws, it just needs to be snug enough to hold it in place. You don’t need many, either, most windows just need a couple on each leg and the head. Larger windows may require more but never run screws into the sill, or bottom, of the window frame. If you do, you’ve just made holes in the weeping system and it’s likely that you’ve got a leaky window now. Once we’ve caulked and foamed the window into the opening it’s not going anywhere. Over-tightening can cause the frame to bow outwards and take it out of square causing issues with the window’s operation or affecting the seals on the insulated glass units.
Sealing The Window
Now that your replacement window is square, plumb, level, and soundly secured to the frame of the house it’s time to seal it against the elements. First, we’ll foam the gap between the window frame and the opening low a low-expansion foam. It’s paramount that low-expansion foam is used here, other foams will almost certainly swell too much and the pressure on the frame can affect the window’s function and even cause the glass to crack. We use OSI Quad Foam, in our opinion, it’s the best product on the market. It’s a closed-cell foam which means that it’s going to stop the transfer of moisture where some lesser products end up behaving like a sponge and absorbing water.
Once the foam has set you may need to trim any excess back flush with the frame for caulking. One of the most overlooked aspects of replacing a window is the caulking. You have to use a high-quality product and that’s going to cost more, but if you don’t the cheap caulk will just shrink, dry, and crack and you’ll be digging it out and redoing it every couple of years. Again, we use an OSI product called Quad Max, and here’s why. For a nice, clean line we like to use painter’s tape. Yes, it takes more time but the end result is worth it. Also, a spray bottle of water with a little dish soap in it can be used to dress up the caulk bead so it’s smooth and uniform. Sure, no one may ever notice or appreciate the little details but, to use, it’s what sets apart the great from the good.